

One of the number one questions I get of all time is just how do you get your knife? So when I say sharp, I mean. Like like that, but there’s only one way we can do that, and that is that the greatest knife shop in America
So let’s go. Whoa, whoa, whoa, whoa.
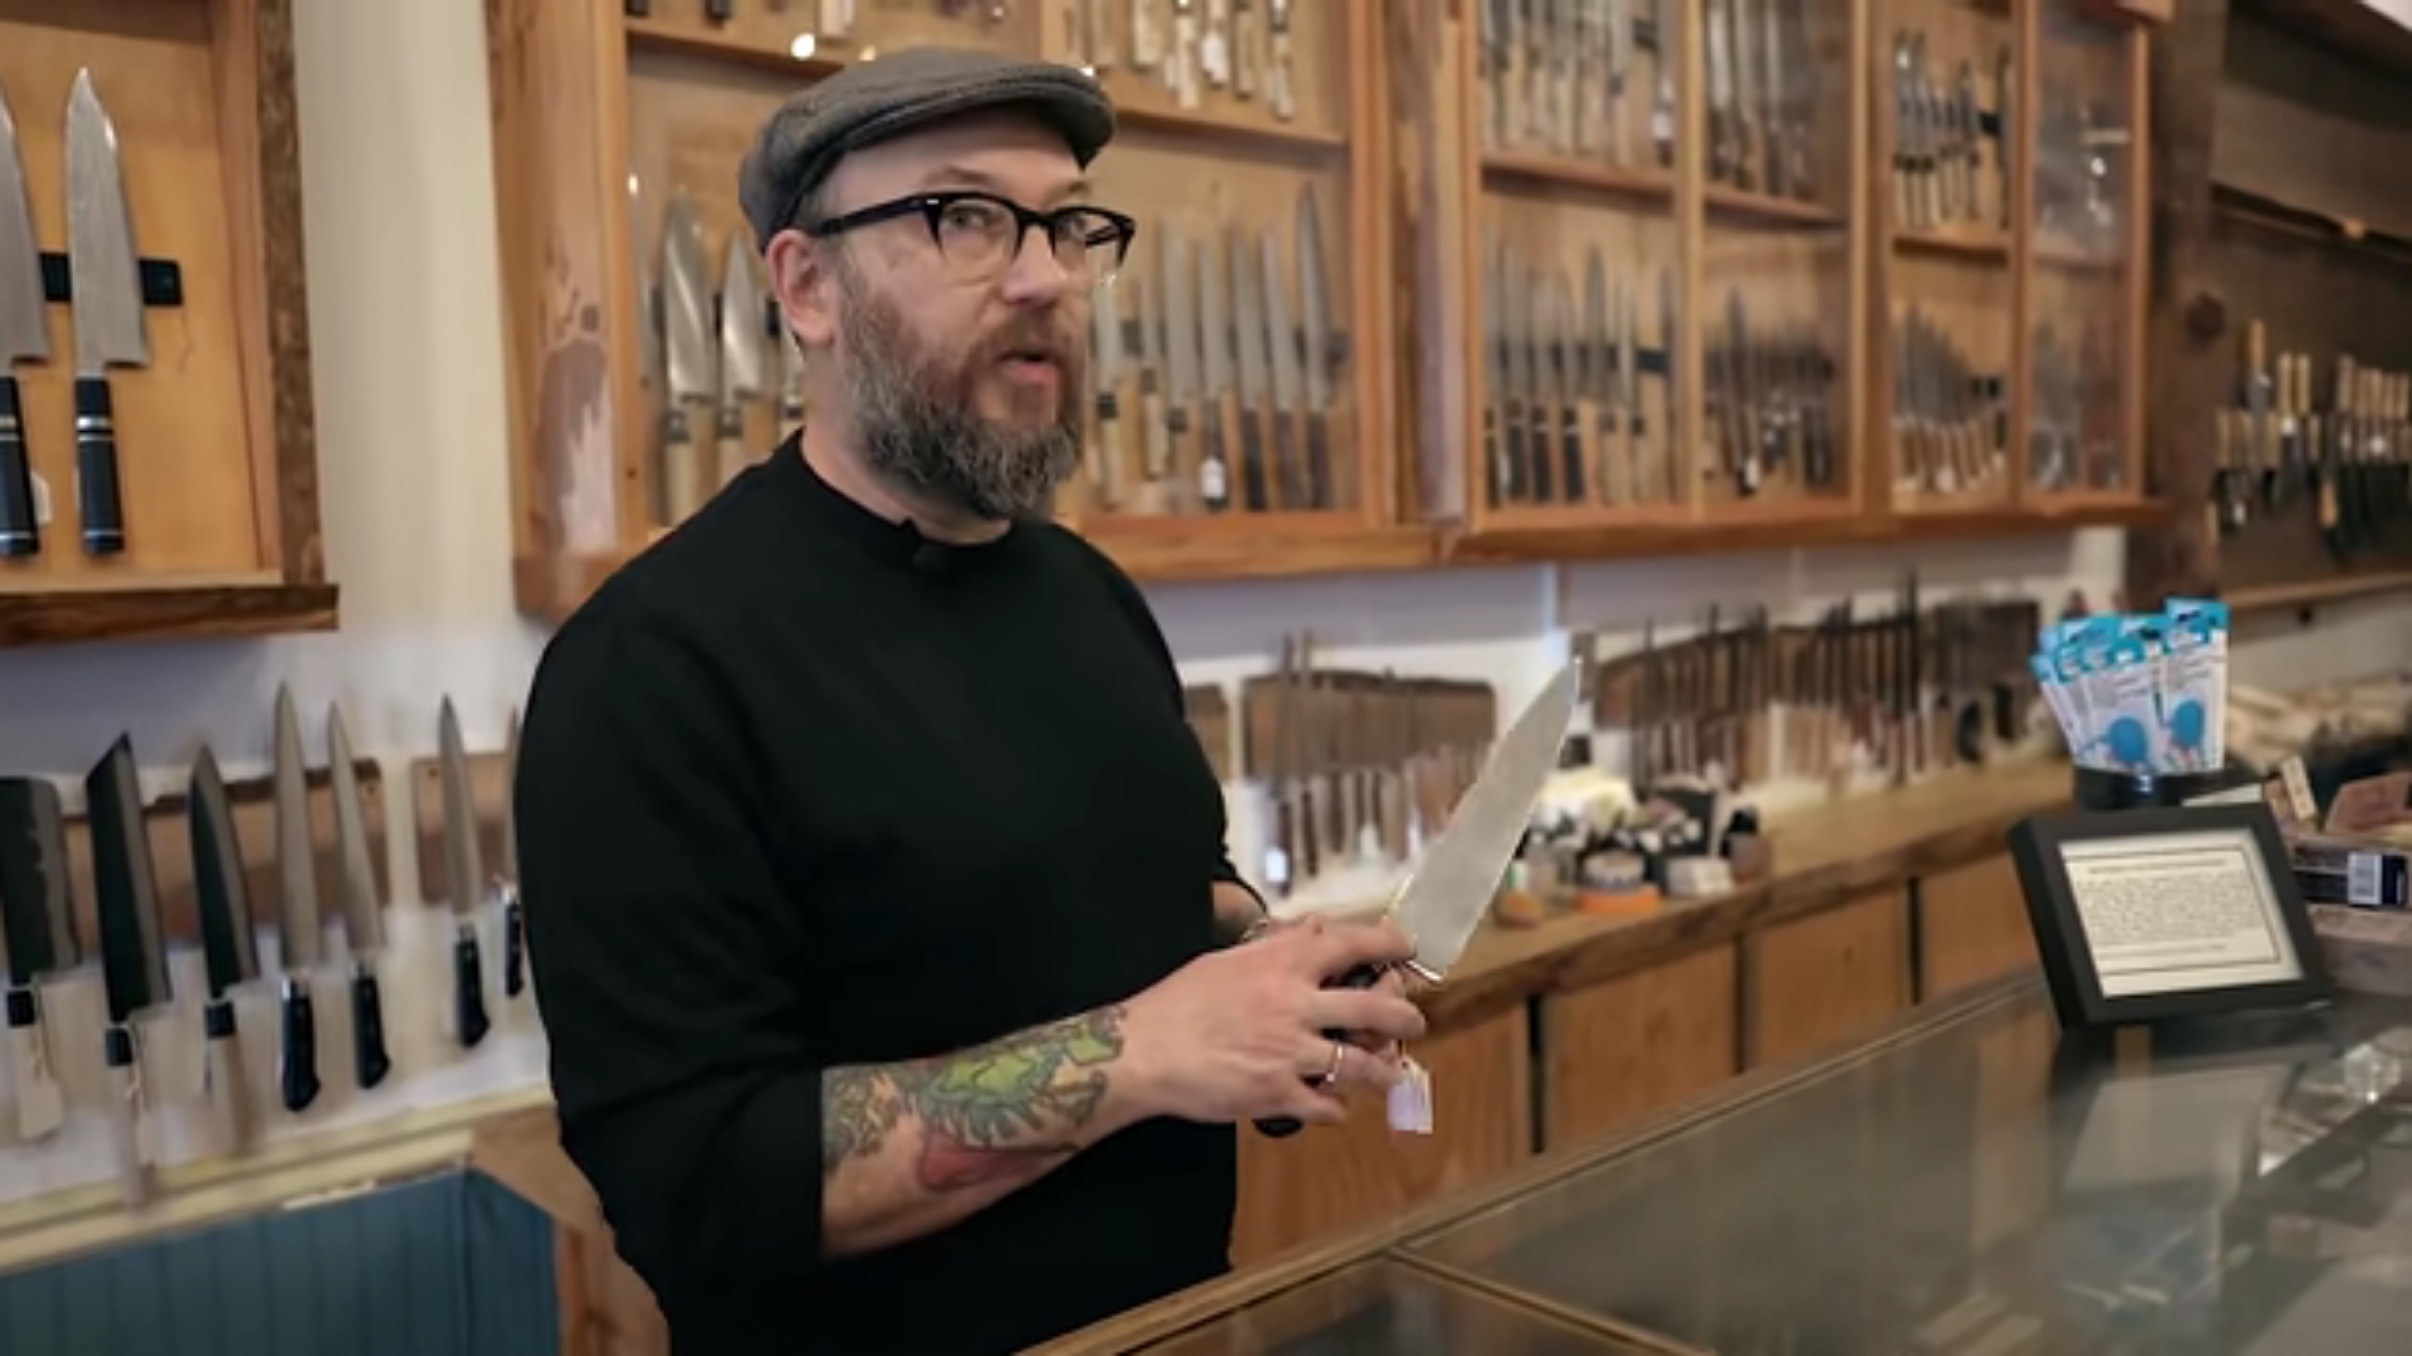
Hey, guys, welcome to Bernard Collaery, San Francisco’s premier cutlery shop. Here we are. Is it going to be my. That’s my thing, Josh.
Hey, Josh, enjoy something.
Josh and Josh. That’s right. So we’re with Josh, Donald Bernard Collaery, San Francisco. To me, I think you guys are the kings of knives. Just why we’re here to flex on everybody. If we’re going to start with Shaoping, the first thing we need to talk about is what kind of steel should a beginner sort of begin with?
Many people might find themselves already with knives if they want to sharpen their doors. They have a lot of people are going to be working with European stainless steel is like this French chef’s knife here. This is a Japanese stainless. And then there’s all the carbon steels in hand forge knives.
You look at this incredible array of knives and it can be really daunting. And people will just sort of default to, you know, a name brand knife.
The way you sharpen your knife is going to be pretty much the same for whatever style you choose. Some fields are going to hold their edge longer, will require, you know, sharpening less often. Others will sharpen easier. So whoever you buy your knife from should be able to tell you what the sharpening is like.
I think that that makes a lot of sense. Then let’s let’s walk these people to let’s walk these people on how to sharpen. You have to live, Rebecca.
Oh. Oh, that’s how the story. Just put it in a drawer.
Oh, and just let it kind of clang, clang and put some other stuff in there, too.
Yeah, it’s looking good. So this is the first thing you want to notice is that there we go. That’s that’s not too bad.
Let’s look at February tomato. There’s a great way to go.
Yeah. We’re going to start sharpening you. You don’t need that. Or calipers.
Yeah. No, you guys are stupid.
Just stupid. Who uses calipers anyway.
And these are Japanese medicines that are soaked in water. You have coarse, medium and fine grit. Stone is the course, just one that we got in our lineup. This is 220 great. Quite course there’s four hundred in there as well. Here in this bin we have twelve hundred thousand. And then there’s our fine stones here. Six thousand and eight thousand. These ones have been smoking for about 30 minutes. The core stone has a large particle, removes a lot of metal, medium stones, little ash metal removal and then the fine stones, very, very light metal removal.
So they’re essentially polishing the edge. Do how tall the knife is, would determine which stone you start with. So start with it to twenty stone. Assume that this is a dull, dull knife. We’re going to start with a pinch grip from our pinched grip. Some goes in the heel forefinger goes on to the spine. These three fingers should be getting a good grip onto the handle and your wrist should be locked. You don’t want to have a bent wrists either one of these two directions.
So the knife should be about forty five degrees to the stone. And then the angle of the edge on the stone is real important. We’re going to be sharpening at somewhere around 15 degrees. I don’t think that anybody free hand sharpening can really tell you exactly what their angle is. Two quarters, oftentimes four chef’s knives. This is kind of inaccurate, but really useful because it usually gives you about what your angle should be. So edge the corners edge of the knife.
We have to take them off there to sharpen. So don’t let this finger drag on the stone. Two fingers from our secondary hand are going to come down. We’re going to kind of bend our fingers, use the tips of our fingers. It was going to come straight back and forth over the stone. So starting in the heel and going straight back and forth, ring pinky and thumb up out of the way. If you have them curled up in your palm as you start to work, they’ll kind of relax.
And then if you slip, you can cut yourself. So keep those fingers up so that if you slip, you know, snag us, we’re going to be running off of the center line of the stone, walk along the sidewalk and not veer off into the street. These fingers are going to stay over the stone while we’re working. Don’t let them come over the end. There’s a guillotine that’s formed at the end here. And if your finger falls off, it’s less fun.
So to work up the blade, we’re going to take tiny steps with that hand on the blade. One finger comes up. Next one comes to meet it in slow motion here. One finger comes up next and slides up to meet it. As we do this, the handle is moving further away such that these fingers always stay over the center. So it’ll look like this. As you see, each great has its own sponge. So we don’t introduce the grit onto our towel that we’re going to use to dry the blade Yuki’s.
So now that’s the outside of the blade. So you have the outside and the inside. The inside we’re going to sharpen by switching hands. Same grip. And I have a locked wrist. Previously I had two fingers coming down. However, when I’m holding with my secondary hand, I’m going to be pushing and controlling the movement with this hand now. So I’m introducing my thumb into straight back and forth over the center of the stone. So I’m pushing with the hand that’s on the blade with my left hand.
It’s holding the knife. My wrist is locked at my elbow and shoulder length so that the knife follows. This is still where the the control is happening. This guy is really just holding our angle. The curved tip of a chef’s knife for a lot of other night provides a little bit of a challenge to keep the same angle. What we’re going to do is lift the handle as we come towards ourselves and lower as you come out. It’s pretty simple.
Just remember that you’re lifting up the handle along with your arm, so don’t use your wrist. So knife and arm are all one fuzed unit. You’ll hear this noise, that little swish. So I’ve worked each side to where I might start feeling a little roughness form. There’s a little flange of metal, a little overhang that will form, that will form a little bit. And that’s our indication that we’ve started our process of sharpening. We have a new edge and that we can then refine it.
This course one has done its job and it can go back into its bath.
And this is like if you need to like your you’re removing a lot of metal. You’re like really resetting the. Yeah.
You want to get that. You want to get your work done fast. So now go to the medium stone and these are the ones that you’d be using most often. Like you want to maintain that angle from every point in the night. You don’t ever want to change that.
No. And that’s why that’s maintaining that angle is a lot of why I like. Have the edge facing, there’s lots of different ways to get to a sharp knife. Let’s not say those are wrong.
I decided you don’t need a ton of water on top. I always know. I always put like I put a lot of water. I’m not going to like.
No, we’re not letting the tip of the knife lead the way. So if we get a nice long stroke along the whole length of the stone and it’s a lot easier to maintain our angle than if we do lots of short, long strokes, not short strokes. Nobody likes short strokes.
Oh, there’s a time and place for it. But that’s that’s a different video. Consume our fine stones. So this is six thousand and eight thousand. The finer the Polish, it’s not necessarily the better the edge. So now that we’ve said it again, I just said ask not this little nugget of stone, a little dressing stone. This is going to raise a mud and smooth the surface of the stone we’re talking about. Right. Like we switch to so many different stones.
It’s like people get so crazy about this. But really, the only most important thing to understand is just the technique of actually just sharpening the knife. Once you understand that, you can play with all the different kinds of stones.
I think the most difficult thing is keeping a consistent angle. And even if you do this badly, you’re not going to ruin your knife. You might temporarily table really bad. But the benefits of doing this, even if you do poorly, are way better than doing nothing. So the last thing is to stop and this is a this is a cork drop here. Make sure your table’s nice and. Yep, sure. There’s no grip on the knife and you do this, this goes on to the edge, your work surface and then.
We’re just pulling is at the same angle, yep, same angrily you sharpened on in Inglourious Basterds, where it’s like standing there leather dropping his with his belt. Or you could but it’s not. It looks cool. But what is effective?
I like it flat like this. Usually half a dozen strokes on the strap and the birds are moved and it is done and they’ll be different ways to test it. So cuts paper, shapes hair or sticks to a fingernail or cuts to work. And floating in amount of food is ultimately the best test because you probably aren’t eating a lot of paper in here.
I actually ate here while we were traveling, getting out of the air vent in the car. And I will say that the texture of the hair was it was not from somebody at the bottom off. Right. Look at that right through here. So that it’s through. Right. It didn’t. It didn’t. We’re not cutting all the way through and we’re just going to turn cut around and unroll this as we’re cutting.
It’s a lot easier to do these thin slices.
Why don’t you show the camera what you’re doing there? Very nice. Very the while eventually. Yeah. It’s good when you’re in here, you should feel nothing. But we all haven’t eaten. Then we’re like, this is amazing that I’ve ever had in my life.
Continue the remaining session of Joshua Weissman. Thank you to Bernal Cutlery
